Why DJI Pocket 3 May Not Be Right for You – Review Specs Carefully
[LOLR] DJI Pocket 3! This little powerhouse is a must-have for everyone!
Its compact design makes it incredibly portable, allowing you to pull it out and capture stunning moments anytime, anywhere. The video quality? Absolutely breathtaking! There’s no doubt about it—Pocket 3 remains at the top of its game!
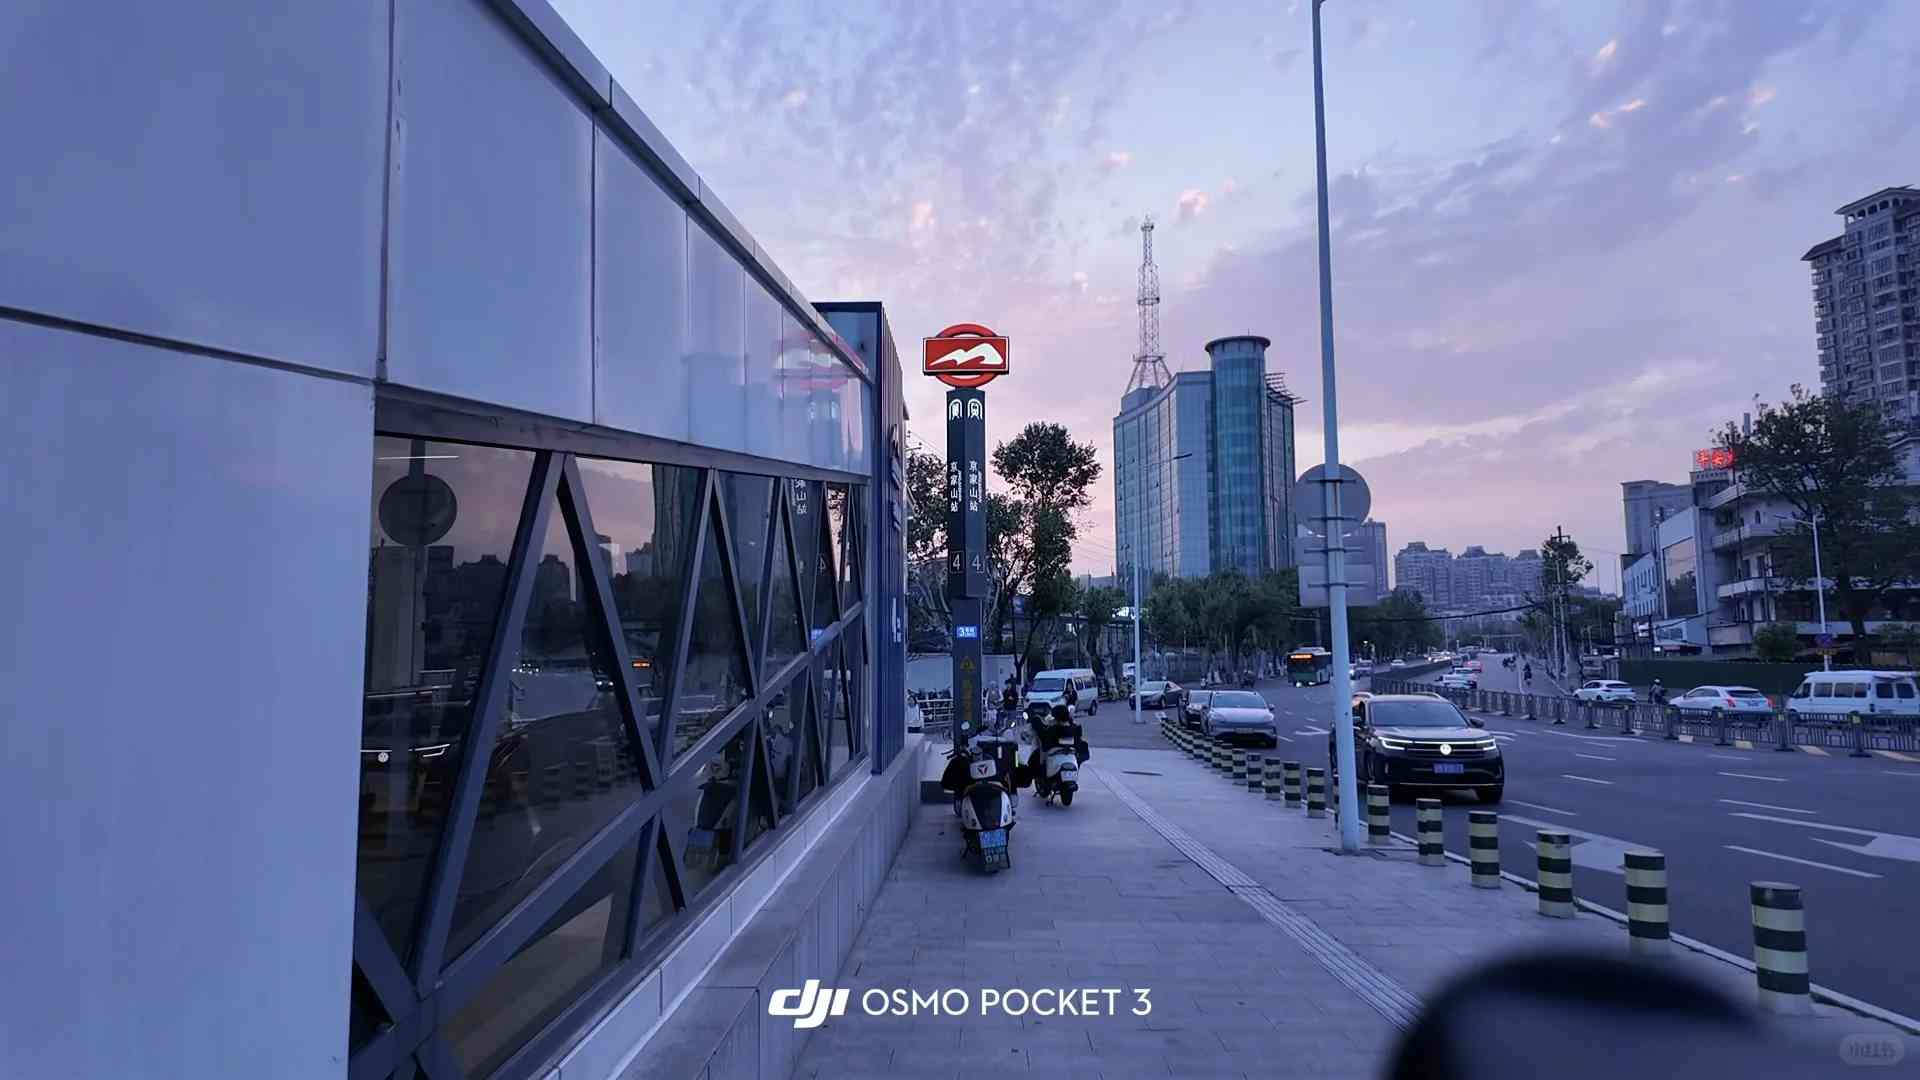
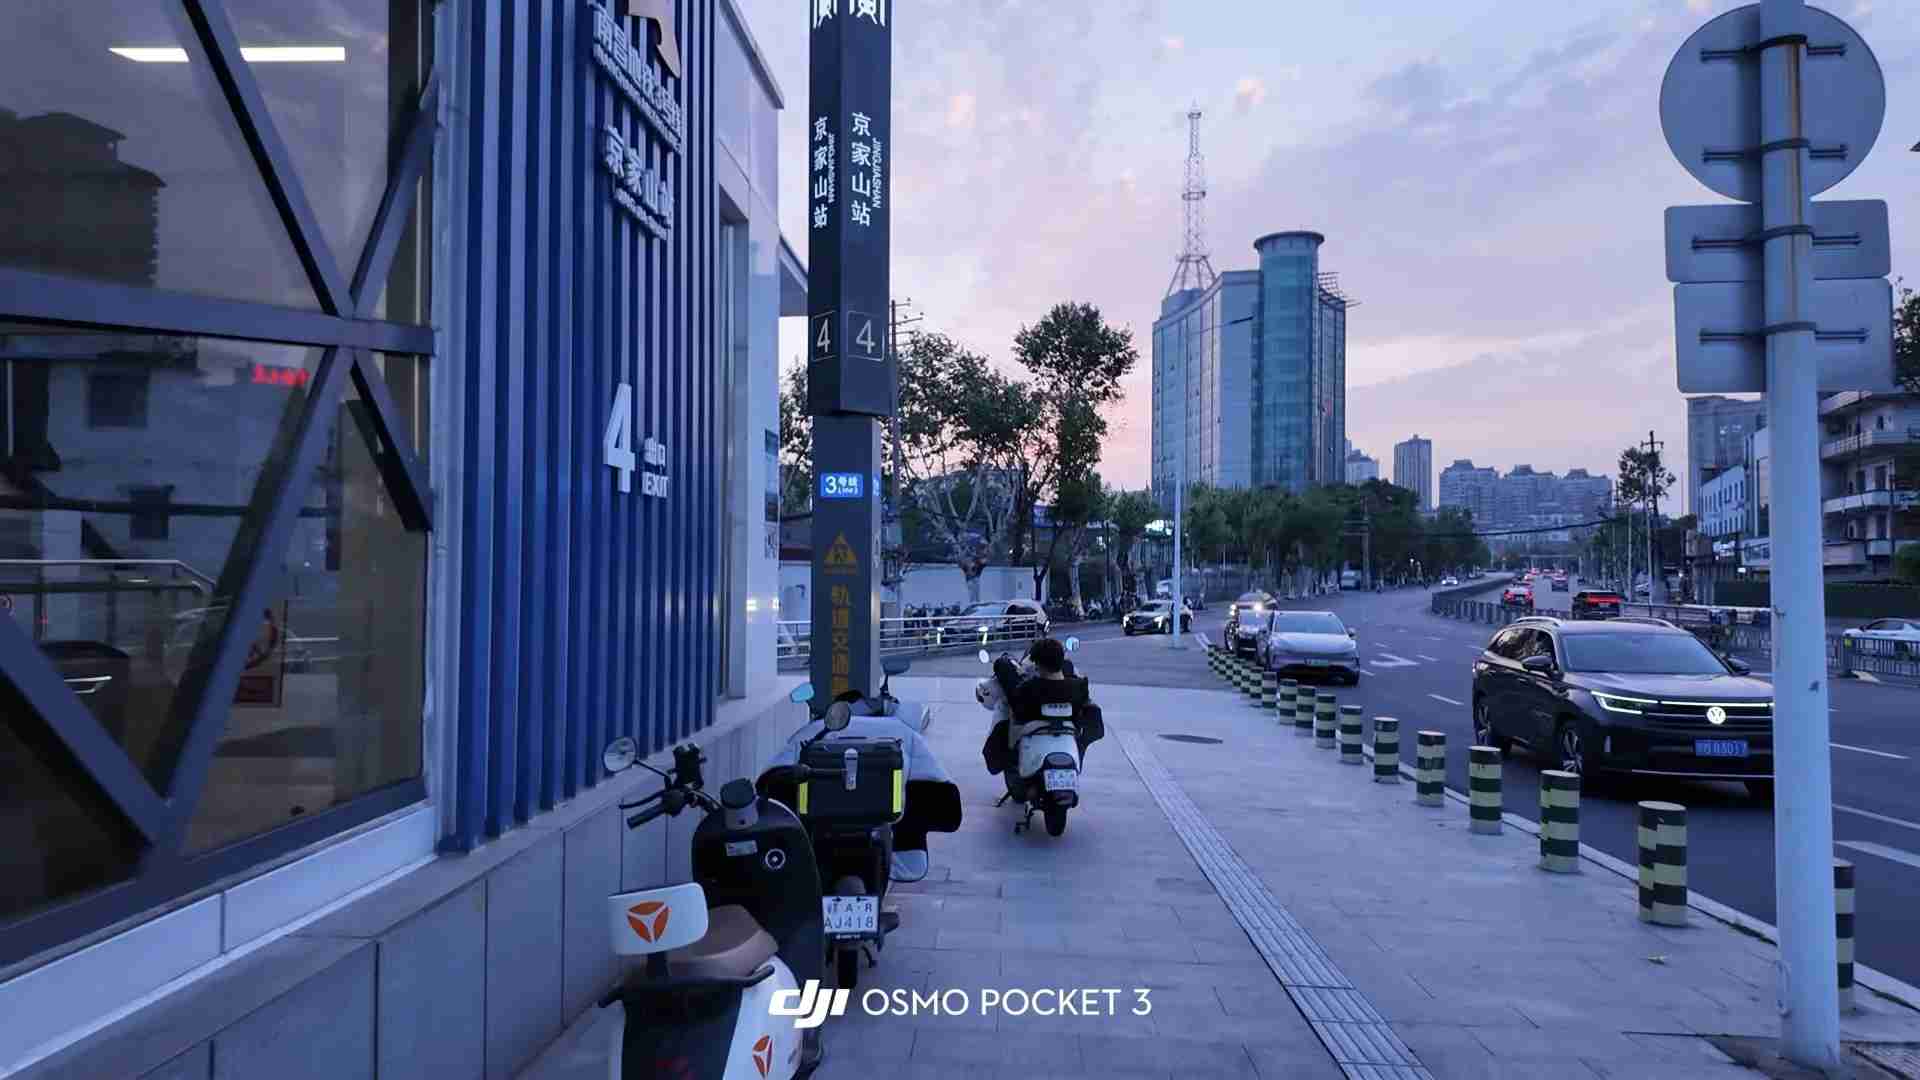
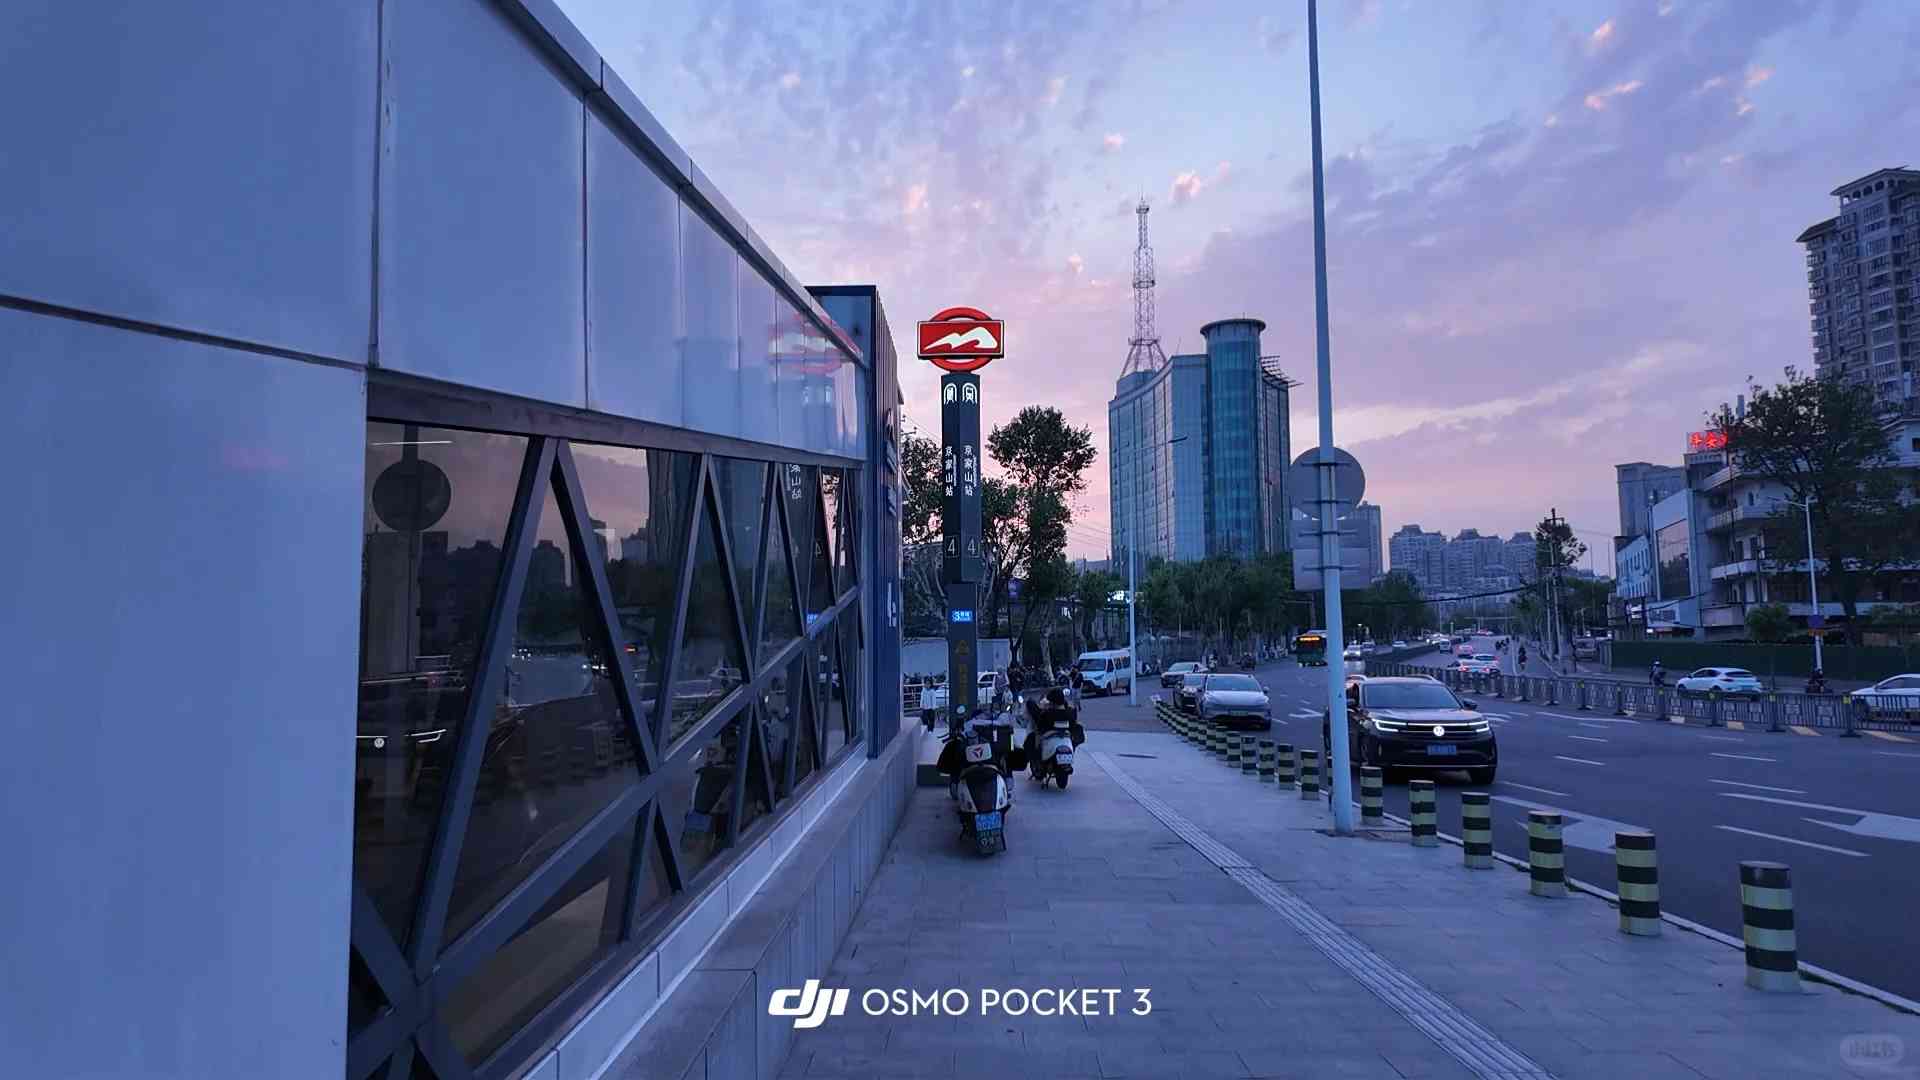
1️⃣ **DJI Pocket 3 Shooting Parameters:**
– **Exposure:** Set to -1 initially, but tweak based on the scene’s brightness. A one or two-stop adjustment can work wonders depending on lighting conditions. If your footage feels a bit dim, don’t worry—you can always brighten it slightly during post-processing.
– **ISO:** Keep it between 100–500 to ensure minimal noise while preserving crisp textures.
– **White Balance:** Opt for 4700K for that cooler, bluer tone, which gives your videos a professional edge.
– **Resolution & Frame Rate:** Shoot in 4K at 60fps for smooth, high-definition visuals.
Stay tuned for more parameter tweaks tailored to various lighting scenarios—packed with practical tips to elevate your footage!
Follow now so you don’t miss out 🔅.
2️⃣ **Post-Processing Tips:**
– **Exposure:** Dial down by -2 to balance out any overexposed areas.
– **Brightness:** Boost by +5 to enhance overall visibility.
– **Highlights:** Reduce highlights by -8 to soften overly bright spots and add depth.
– **Contrast:** Increase contrast by +15 to create sharp, vivid images with excellent dimensionality.
– **Shadows:** Lift shadows by +20 to reveal hidden details and bring life to darker areas.
– **Natural Saturation:** Add +10 to enrich colors naturally without making them look artificial.
– **Color Temperature:** Cool down the picture by -6 to maintain a sleek, cinematic vibe.
– **Sharpness:** Bump up sharpness by +15 to highlight every detail and texture.
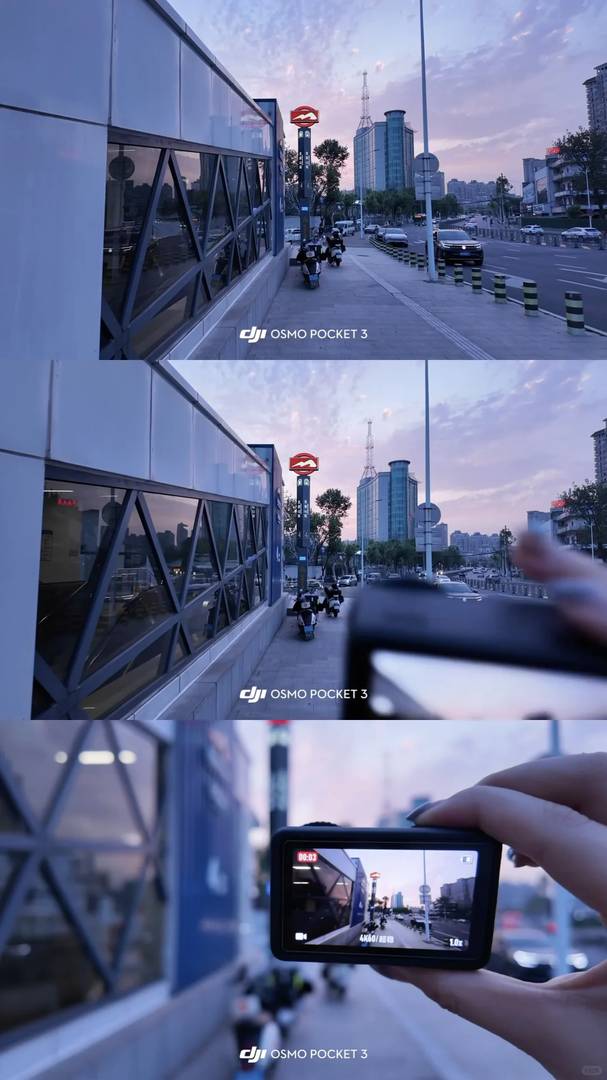
3️⃣ **How to Export Live Photos from DJI to Apple:**
– Open your video directly in the DJI app.
– Tap “Trim” in the toolbar and select a short 3–4 second clip.
– Next, tap “Screenshot,” then choose to export as a “Live Photo.” Customize with your favorite watermark before saving.
(Oh, and let’s not forget DJI’s latest three-in-one live feature—it’s absolutely genius! Truly, they keep raising the bar for us creatives!)
If you enjoyed this guide, hit that like button and follow me for regular updates. I’d love to connect with fellow enthusiasts who are eager to learn and share ideas. And here’s a fun promise: those who follow now become part of the OG crew! Once my channel grows, I’ll be giving away cameras to celebrate alongside all of you‼️🥹🥹🥹
I totally get why some might hesitate with the DJI Pocket 3—it’s not perfect for every situation. The specs are impressive, but I agree that reviewing them carefully is key since it won’t suit everyone’s needs. For my use case, though, it’s been a game-changer for vlogging on the go. Just wish the battery life was a bit longer!
Thanks for sharing your experience! It’s great to hear that the DJI Pocket 3 has worked so well for your vlogging needs. Battery life can definitely be a concern, but many users find that extra power banks do the trick. Happy shooting, and glad you’re enjoying it!
I totally agree that the DJI Pocket 3 is impressive, but I think the article brings up a good point about being cautious with the specs—especially the exposure settings. It’s easy to get carried away by its portability and quality, but as the review suggests, knowing your needs is key before jumping in.
I totally get why people love the DJI Pocket 3—it’s super convenient and the video quality is amazing. But I do agree with the article that it’s not perfect for everyone; if you need advanced manual controls, it might feel limiting. Still, for most casual users, it’s an awesome little camera! Just make sure to check those specs before buying.
I totally agree that the DJI Pocket 3 is impressive, but I wish they’d improved the battery life like the article mentioned. It’s a bit frustrating having to swap batteries so often when you’re out shooting all day. Still, the portability and video quality make it hard to resist! Just be sure to check those specs carefully before buying, as the review suggests.
I totally get why people love the DJI Pocket 3—it’s compact and shoots amazing footage. But I agree with the article that it’s not perfect for everyone; the battery life can be a pain if you’re out all day. Still, for most casual users, it’s hard to beat the convenience and quality it offers. Just make sure to check those specs before jumping in!
I’ve been eyeing the DJI Pocket 3, and this review really helped me understand its capabilities. While the video quality is impressive, I’m still on the fence about some of the shooting parameters—it seems like it might not be perfect for every scenario. It’s definitely tempting with that portability, but I’ll need to weigh the specs carefully before deciding if it’s the right fit for my needs.
Interesting points about the exposure settings! I love how portable the Pocket 3 is, but I do wonder if the small screen would be annoying for longer shoots. Maybe it’s better suited for quick clips than serious filmmaking?
Thanks for sharing your thoughts! The 2-inch screen can indeed feel limiting for extended shoots, though the flip-up design helps. While it’s fantastic for quick, on-the-go footage, I’d recommend an external monitor if you’re planning serious filmmaking. Personally, I think it strikes a great balance for travel vlogging!
Interesting points about the exposure settings! I love how portable the Pocket 3 is, but I’m still on the fence about upgrading from my older model—seems like the improvements might not be huge for casual use. Anyone else feel the same?
Thanks for sharing your thoughts! I agree the upgrade might feel incremental for casual users—the Pocket 3 shines most for creators who need its improved low-light performance and active tracking. That said, if portability is your top priority, it’s still a solid choice. Happy to hear others’ perspectives too!
Interesting points about the exposure settings! I’ve been using the Pocket 3 for travel vlogs, and yeah, the auto settings sometimes need manual tweaks in tricky lighting. Still love how tiny it is though—fits in my jacket pocket perfectly. Maybe not for pro filmmakers, but great for casual creators.
Interesting points! I love how portable the Pocket 3 is, but I’m a bit concerned about the exposure settings—seems like it might need constant tweaking for different lighting. Do you think it’s still worth it for casual users who just want point-and-shoot simplicity?
Thanks for your thoughtful comment! While the Pocket 3 does offer manual exposure controls, its auto mode works surprisingly well for casual shooting—I’ve found it handles most everyday lighting conditions smoothly. If you prioritize simplicity over fine-tuning, it’s still a great pick for point-and-shoot use. The portability and quality make it a solid choice for most users!
Interesting points about the exposure settings! I love how portable the Pocket 3 is, but I do wish it had better low-light performance for indoor shots. Still seems like a solid choice for travel vlogging though.
Interesting points about the exposure settings! I love how portable the Pocket 3 is, but I do wish it had better low-light performance for indoor shots. Still seems like a solid choice for travel vlogging though.